Smart thermostat shenanigans
Winter’s coming and this year I set my mind on installing a smart thermostat. I’m used to unexpected problems with tech, so I wanted to have it set up before it actually gets sufficiently cold outside that experimentation will cause me discomfort. Which means it’s now or never.
I briefly looked into 3 options:
- Nest, the epitome of a smart thermostat (acquired by Google)
- Netatmo Thermostat, made by the French Netatmo, most known for its weather stations
- Tado Smart Thermostat, made by Tado, a german HVAC startup
- I also checked a bunch of other (locally controlled) options, of which nothing captured my attention
To distill some of my findings (please note I’m doing this from an EU perspective):
- Nest
- [+] definitely tries to be smart; uses a motion sensor and a learning algorithm to find patterns in your away-from-home time
- [+] the API looks pretty comprehensive & well done
- [-] but it’s bulky and heavy
- [-] and optimized for US heating standards & boiler interfaces (runs on 24V AC)
- Tado
- [+] supposed to work with most EU heaters
- [+] the app reports distance from home to a server; when you get closet to home, it gradually increases the temperature (pretty clever)
- [+] also supports plain old daily schedules for people without smartphones
- [-] no activity detection
- [-] no display or buttons, entirely app-controlled
- [-] the most expensive of the bunch, but rental option available [+]1
- [-] no API (none that I could find)
- Netatmo
- [+] supposed to work with most EU heaters
- [+] relatively cheap
- [+] nice design
- [+] has an API
- [-] the dumbest of the bunch (no sensors, no AI)
- [-] just a web-based and app-basaed heating schedule editor
I found out pretty quickly that Nest won’t cut it with my heating system. I don’t have 24V AC on my heater, and no AC power near my old thermostat mount location. In addition, the device itself felt pretty heavy/bulky. Last but not least, it’s Google-owned, so all the data about your physical presence and heating schedules will reside on the Google’s servers.
So it was in fact a run-down between Tado and Netatmo.
Tado
I liked Tado’s approach, but didn’t like the design of the device: no display, just a single “emergency” button to let it know that you’re home (e.g., if you happen to forget your phone at work). Monitoring the GPS position of all your family members to determine when to turn on heating is pretty clever and probably brings the largest possible amount of savings: even if you deviate from schedule, Tado still knows when you’re coming home.
However, I can’t help but think about what can go wrong if you let your heating be controlled by a stack of unreliable technologies:
- you have to have the phone on you (if you forget it at home, heating stays on; if you forget it at work, it stays off; nonetheless, that’s a pretty minor issue, since I rarely forget my phone)
- but my phone battery dies relatively often; what then?
- or what if you don’t have connectivity
- or if the app’s GPS logging fails (i’ve experienced a lot of this with GPS logger apps, at least on iOS)
On the plus side, Tado seemed to have some smarts regarding taking into account the outside temperatures, pattern detection (not much info online there), and it did specifically support my 3-pin (7-8-9) terminal of the Vaillant heater (which I saw in the installation video, no other documentation found).
Netatmo
Netatmo looked quite nice, but the situation regarding available information online was even worse than with Tado. It seemed the dumbest of the three. The site shows nothing but HLB marketing, without any technical details. There’s no info about the features, about what happens if you lose WiFi connectivity, or if it integrates with the Weather station. They do have a demo GUI that allowed me to play with a fake thermostat to get a feeling about what’s possible. I also had to dig deep to find it has an API that allows you to add some brains on top of it with your own app. And the fact that it took the original Netatmo Weather Station website quite some time to switch from HTTP to HTTPS was not really demonstrating the security savviness you’d like to see, if you want to let other people control your heating.
However, in the end I did order this one–primarily based on the low price, appearance, and *claims* that it supports my heater brand (there was just a logo on the website). Not much info online here, just the video installation instructions that show it has a simple 2-terminal on-off switch, which I thought could be somehow connected to my Vaillant heater 7-8-9 terminal.
Netatmo installation
The first surprise was that I couldn’t get it to work in place of my old room thermostat. As it turns out, Vaillant 7-8-9 terminal is a potentiometer that gradually changes the voltage from about 11V (off) to 21V DC (full throttle) to regulate heating. This terminal cannot be easily linked to a single-pole switch. Arguably it could be connected to a 2 pole switch to have either off or full throttle.
Luckily, the package comes with everything necessary for another mode of installation: It can be connected as a relay directly to the heater.
In fact, the wifi relay comes with 2 backplates:
- one is a socket plug, to connect it directly to mains. In this case, the “relay” acts only as a WiFi-to-radio relay and sends commands to the room thermostat module. In this case, the battery-powered room thermostat turns heating on and off.
- the other one is a 4-wire connector that can be connected directly to the heater. Two wires (240v L+N, blue and brown) are connected to mains power (inside your heater), and the other 2 wires (black and grey) are connected to the relay connector of your heater.
My heater (as probably every other Vaillant, I’ve checked a lot of online manuals) has a 240V relay connector on pins 3 and 4; they are normally bridged with a wire, which means that this 3-4 “switch” is always on, and heating is controlled through a room thermostat on 7-8-9. However, if you disconnect your room thermostat (i.e., all 7-8-9 wires are in the air, which means ON), the heating is controlled only through 3-4.
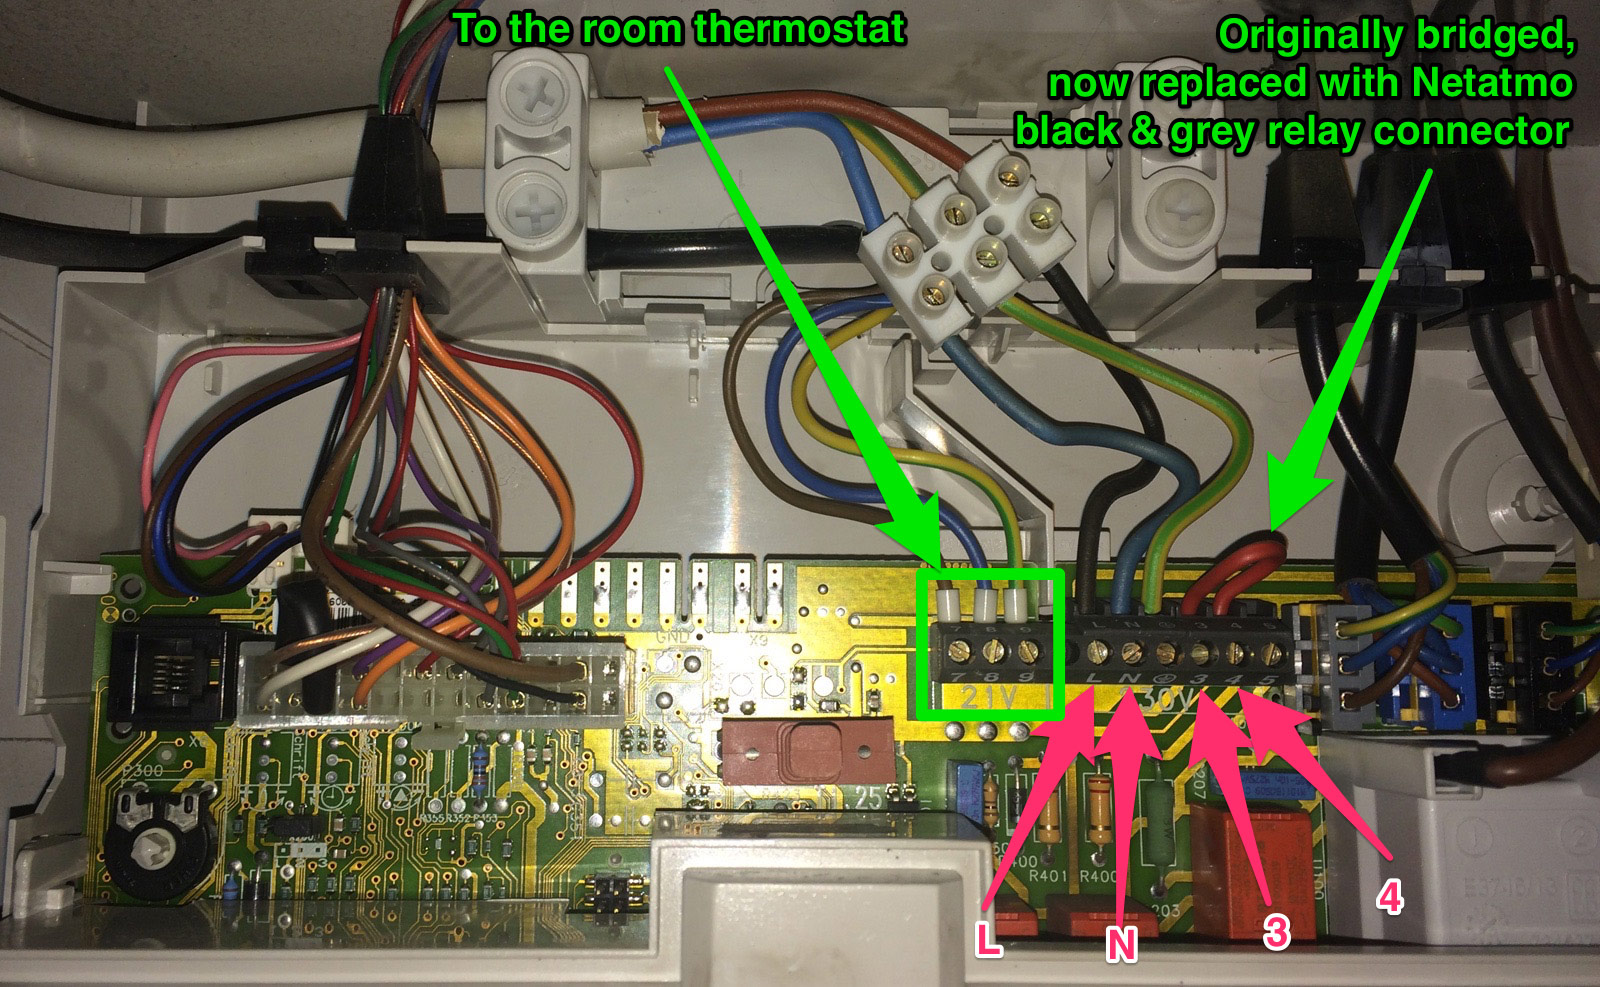
Bottom line, I connected Netatmo relay adapter directly to the 3-4 terminal, and the power wires (240V) to L+N (both inside the heater). I also left my old room thermostat in place. This means both need to be active for the heating to turn on (logic AND). In my case this is easily solvable, because my old room thermostat can be set to “always on”, and this would mean the heating is controlled by Netatmo alone. But in addition, it gives me some peace of mind, because I can limit max temperature on the existing room thermostat as well, and prevent Netatmo from going berserk, turning on and heating the house to 30 degrees. (hey, it’s a cloud-driven thermostat, anything could happen)
Post-install and first days
I was pleasantly surprised by some of the features that are not mentioned anywhere on the web (in Netatmo’s defense, they do have a forum that I only found later: http://forum.netatmo.com/):
- It does work when WiFi’s down; it just follows the last schedule it knows
- It does integrate with your weather station; it fetches the temperature from the outside module of the same account and uses it for plotting charts and doing predictive heating
- It *can* have the polarity reversed, which means I could even connect it to the room thermostat post (off = all wires in air = full throttle; on = bridged control wire and low voltage)
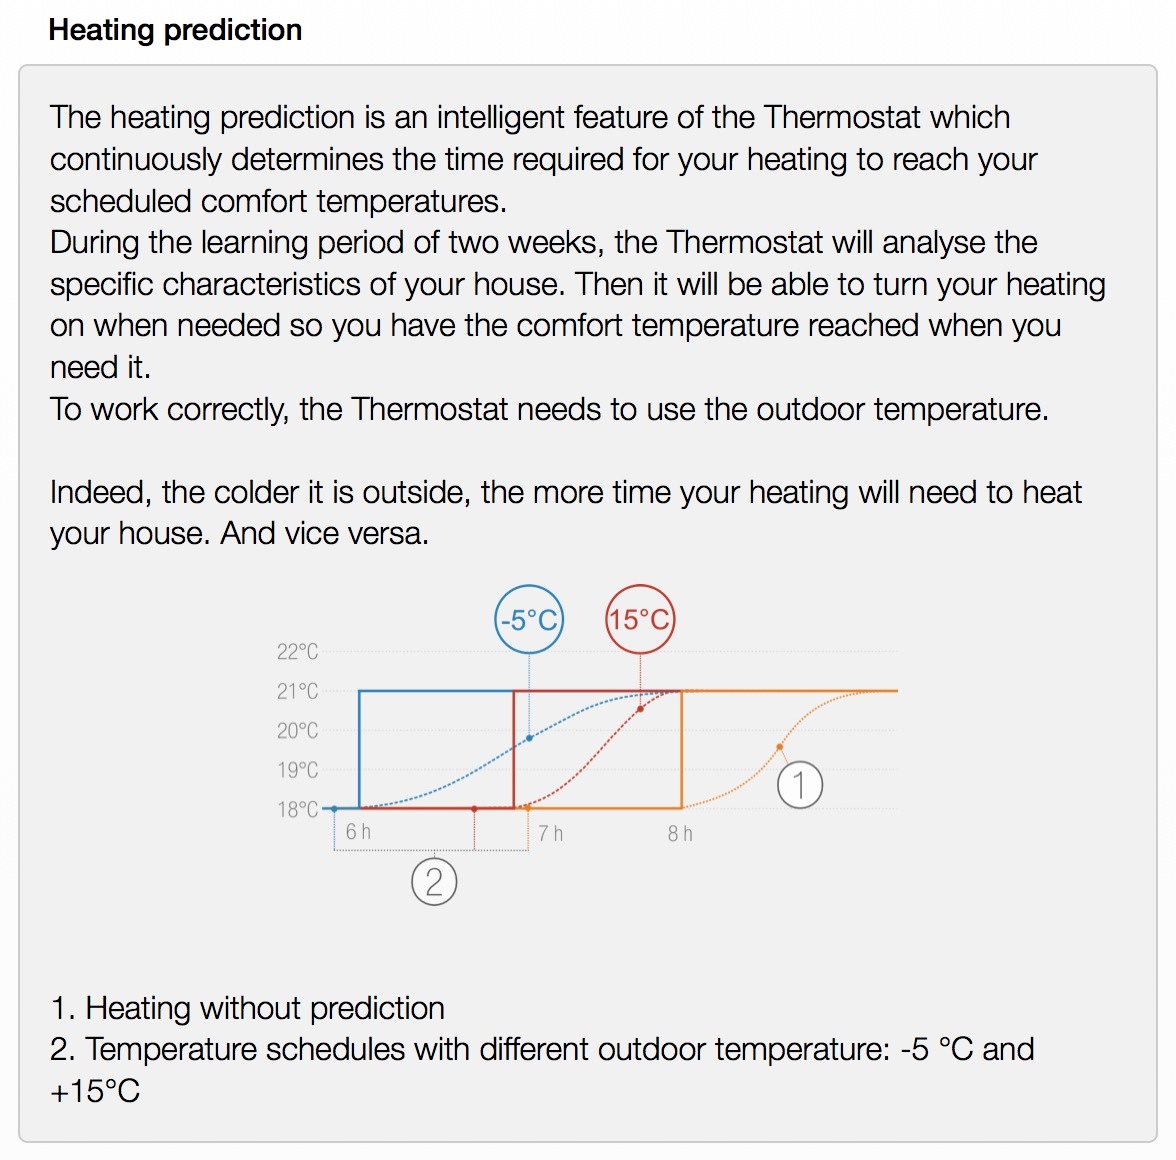
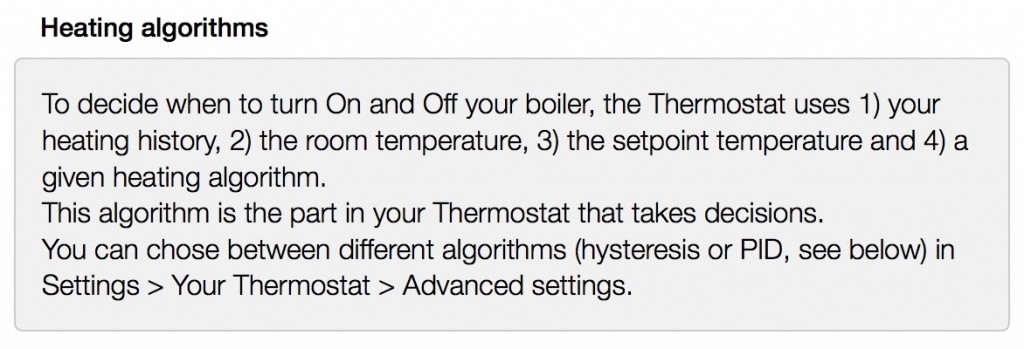
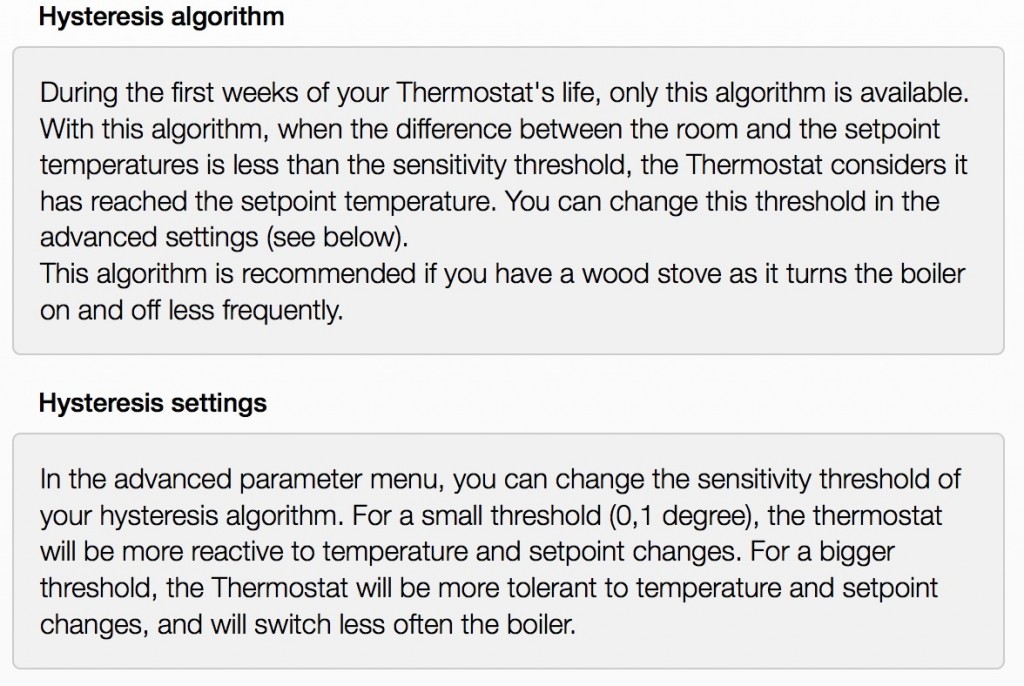
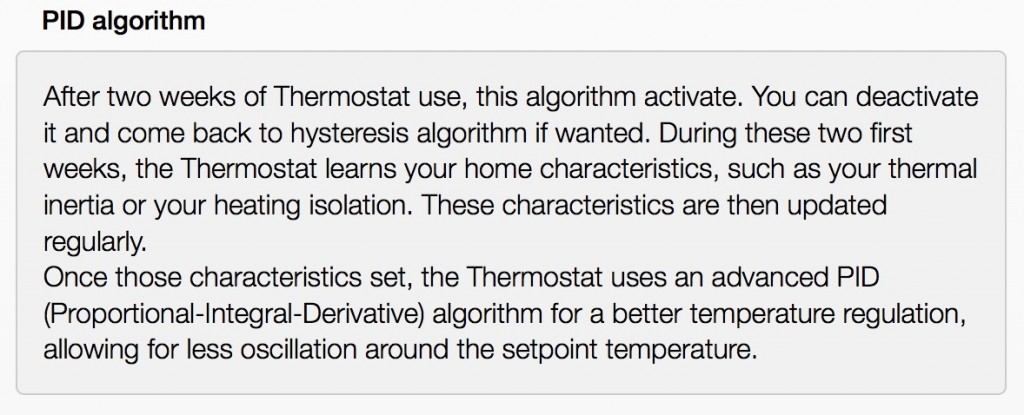
- It has 2 modes for heating: hysteresis and PID; PID means it learns the time constant of your home, takes into account the outside temperature and starts heating earlier or later accordingly
Below are some screenshots from the web app Q&A that are not accessible from the demo web app linked above.

- It seems Tado just dropped the price by 50 EUR [↩]
Reply
You must be logged in to post a comment.